
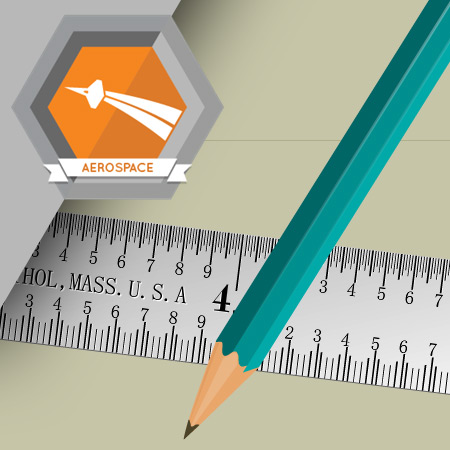
Before holes are drilled in an assembly, their locations must be identified and marked.
Learning Objectives
- Recognize fastener identification information on an engineering drawing
- Determine fastener locations using information given on the engineering drawing
- Mark all fastener locations on the part
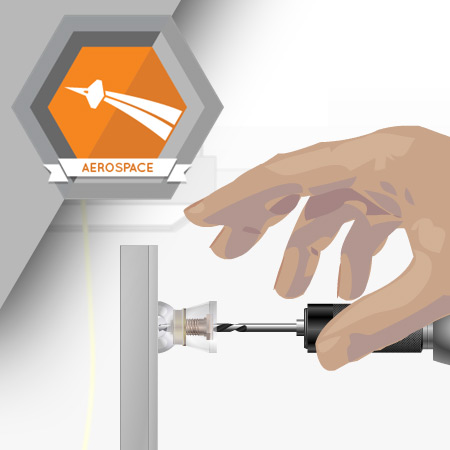
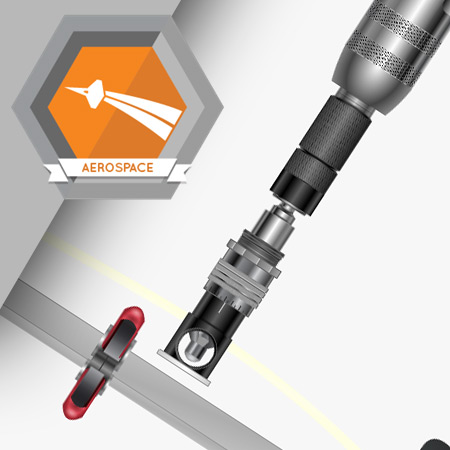
The first step when installing a flush head rivet is to select and install the proper drill bit in the drill motor.
Learning Objectives
- Properly secure the assembly in the vise
- Install a pilot bit in a drill motor
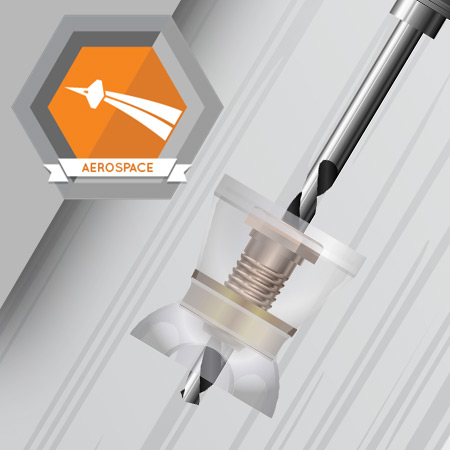
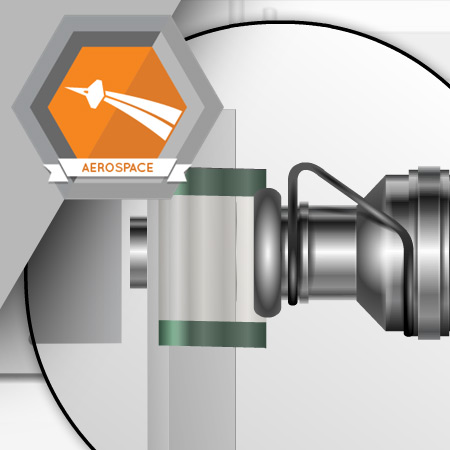
Prior to installing fasteners in any assembly, pilot holes must be drilled. Because pilot holes are not large enough to accommodate fasteners, the pilot holes must be enlarged to size. Any burrs that form during the drilling process must also be removed.
Learning Objectives
- Drill a pilot hole
- Exchange a pilot bit for a larger drill bit
- Set a drill stop
- Enlarge a hole to size
- Inspect a full size hole with a Go/NoGo pin gauge
- Use an open countersink to deburr holes
Check and adjust the countersink depth by creating several practice countersinks in scrap material of the same composition and thickness as the assembly.
Learning Objectives
- Choose an appropriate piece of scrap material
- Determine hole locations on a scrap part
- Countersink a hole
- Use a Federal gauge to inspect a countersink
- Install a flush head rivet
- Use a Federal gauge to inspect a flush head rivet
- Adjust the depth of a countersink cutter
Once you have verified the depth of the countersink cutter in the scrap assembly, you can countersink holes in the final assembly.
Learning Objectives
- Countersink holes of various sizes
- Measure countersinks with a Federal gauge
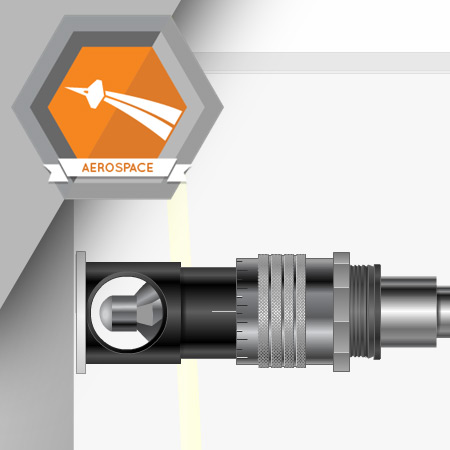
After the holes in the assembly are drilled and countersunk, the flush rivets are installed in the assembly.
Learning Objectives
- Install flush head rivets
- Visually inspect the manufactured head of a flush head rivet
- Use a digital gauge to inspect the manufactured head of a flush head rivet
- Use a spoon gauge to inspect the clinch diameter of a flush head rivet
- Use a spoon gauge to inspect the clinch thickness of a flush head rivet

Before the fasteners can be installed in this assembly, the assembly must be constructed and the holes prepared.
Learning Objectives
- Recognize fastener location and identification information on an engineering drawing
- Explain where to find the tools, fasteners, and other supplies needed to create the assembly
- Mark fastener locations on the assembly
- Drill pilot holes in the assembly
- Enlarge the pilot holes to size
- Chamfer the holes in the assembly
- Take the assembly apart
- Deburr holes in the assembly