

To drill a quality hole in titanium material, you need to understand titanium materials and have good basic drilling knowledge and skills.
Learning Objectives
- List some qualities of titanium material
- Understand the hazards of working with titanium materials
- Define a quality hole
- Understand how to drill a quality hole in titanium material
- Recognize some common hole defects

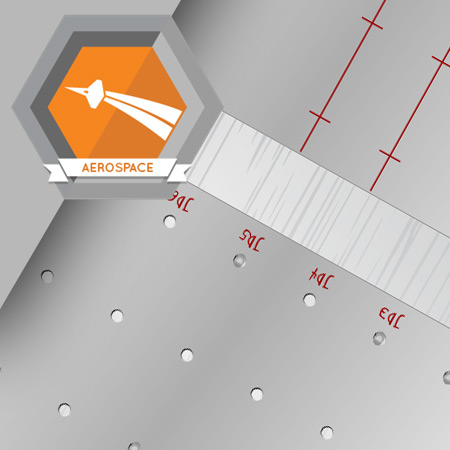
Before holes are drilled in an assembly, their locations must be marked.
Learning Objectives
- Recognize hole location information on an engineering drawing
- Explain where to find the tools and other supplies needed to create an assembly
- Prepare the surface of an assembly for mark up
- Properly measure and mark hole locations in the assembly
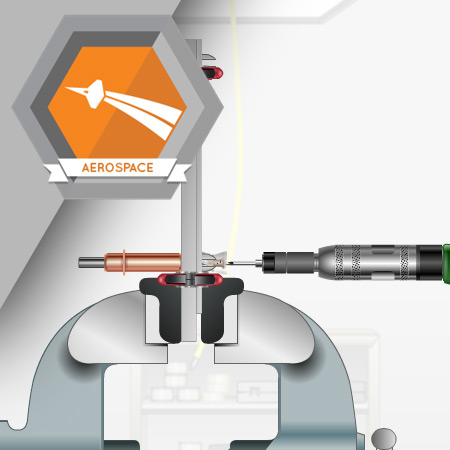
In this course, you will be shown how to create the assembly and drill pilot holes.
Learning Objectives
- Create an assembly
- Properly secure the assembly in the vise
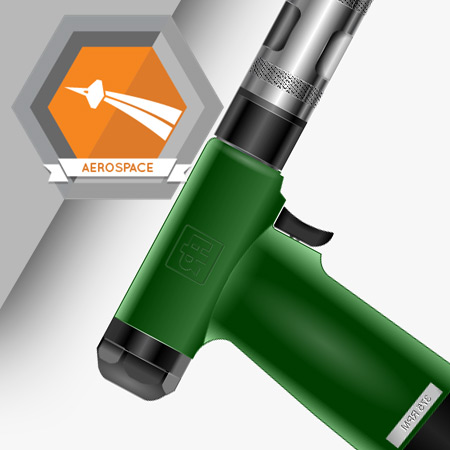
- Install a pilot bit in a drill motor
- Drill pilot holes into the assembly
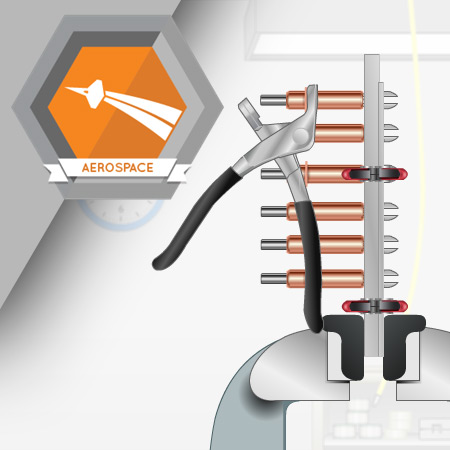
After the pilot holes are drilled in rows JD1, and JD3 through JD8, drill the pilot holes in row JD2 and then enlarge them.
Learning Objectives
- Use a ninety-degree drill motor to drill the pilot holes in row JD2
- Use a ninety-degree drill motor and two separate single step drill bits to enlarge the pilot holes to size
The next row of holes to enlarge is row JD7.
Learning Objectives
- Enlarge the holes in row JD7
After enlarging the holes in row JD7, enlarge the holes in rows JD4, JD5, and JD6.
Learning Objectives
- Enlarge the holes in rows JD4, JD5, and JD6
After enlarging the holes in rows JD4, JD5, JD6, and JD7, enlarge row JD1 and JD3.
Learning Objectives
- Use two reamers to enlarge the holes in rows JD1 and JD3 to size

After enlarging the holes in all the other rows in the assembly, enlarge the holes in row JD8.
Learning Objectives
- Enlarge the holes in row JD8
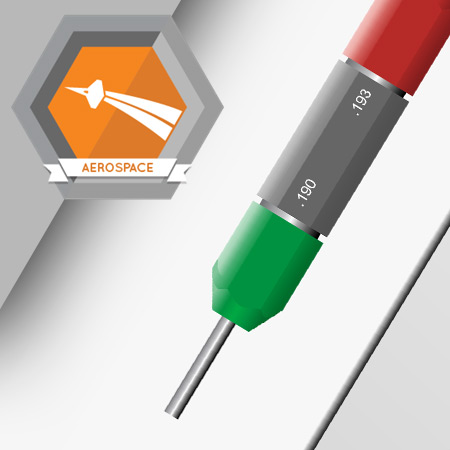
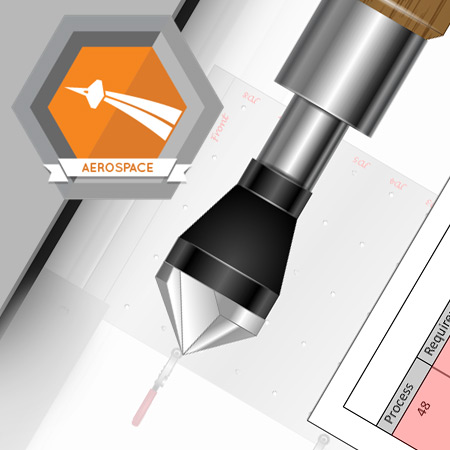
Two rows in the final assembly require chamfers: rows JD4 and JD6.
Learning Objectives
- Choose appropriate scrap material
- Mark hole locations and drill and chamfer holes in scrap material
- Measure the diameter of a chamfer with a countersink gauge
- Adjust a countersink cutter to create a chamfer of the correct diameter
- Chamfer holes in the final assembly
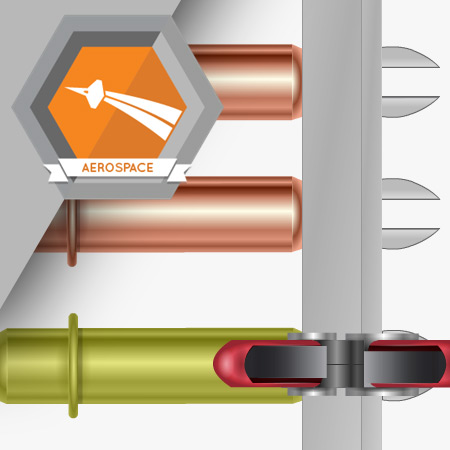
Although no fasteners will be installed in this assembly, it is still important that you learn the final hole finishing procedures required for titanium assemblies.
Learning Objectives
- Edge break a hole to a specified diameter
- Inspect an edge break using a countersink gauge
- Deburr holes in a titanium assembly