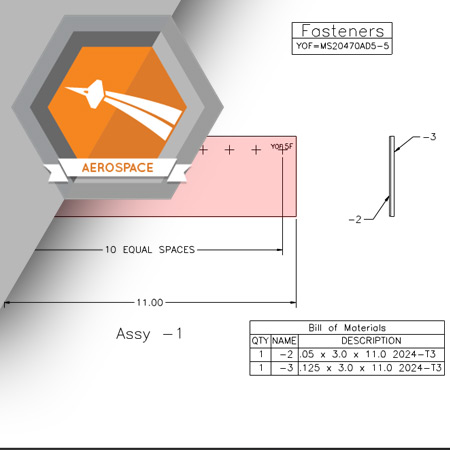
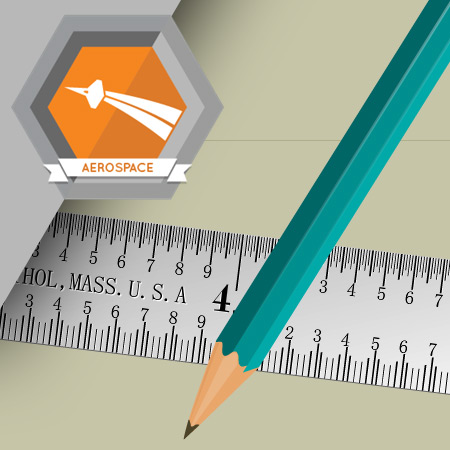
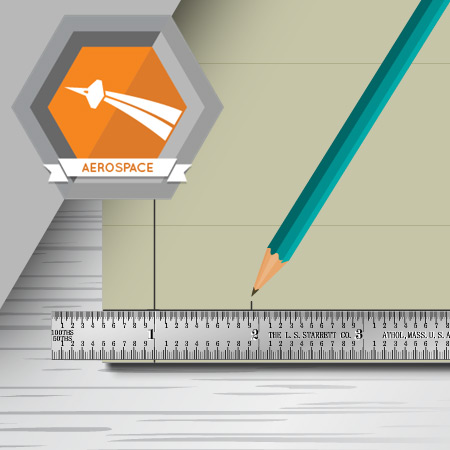
Before holes are drilled in an assembly, their locations must be marked.
Learning Objectives
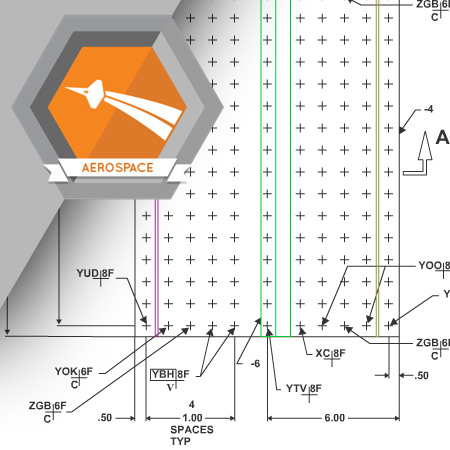
Recognize fastener location and identification information on an engineering drawing
...
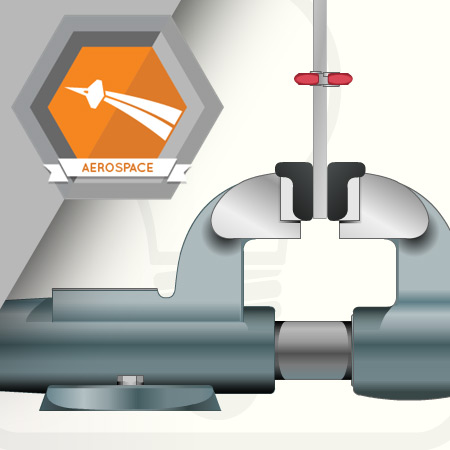
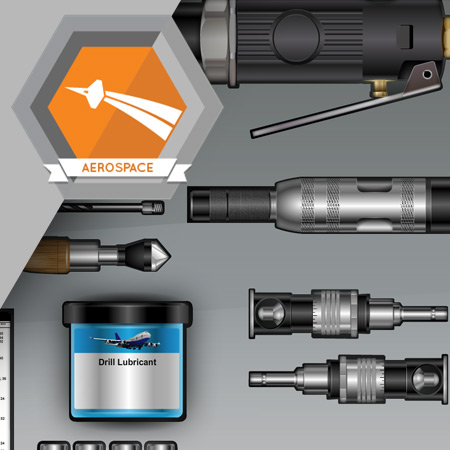
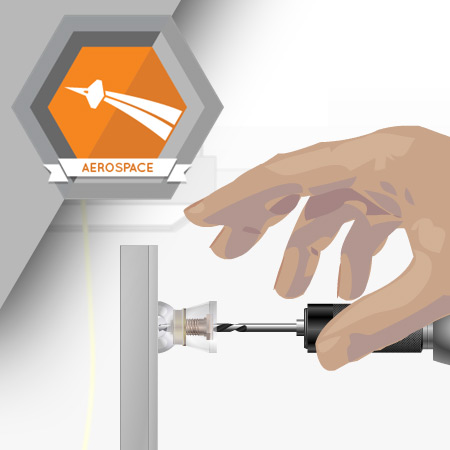
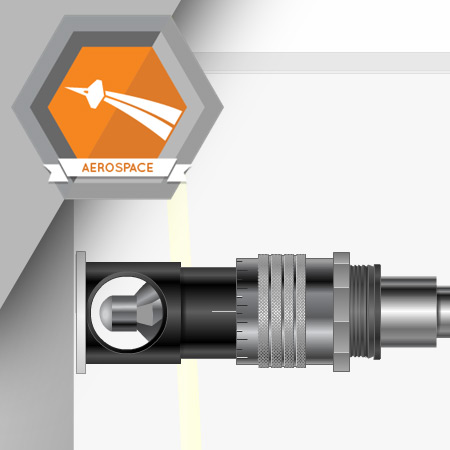
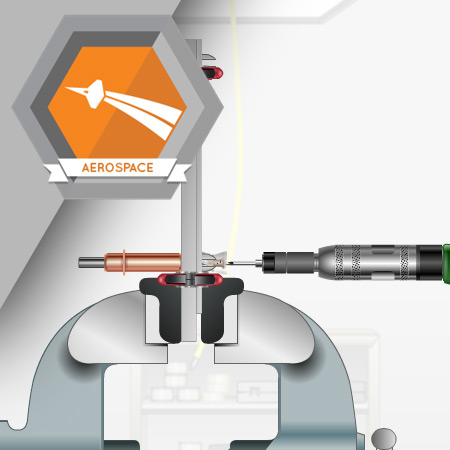
Drilling a quality hole starts with properly aligning the pieces in the assembly and correctly installing a drill bit in the drill motor.
Learning Objectives
Prepare the assembly and ...
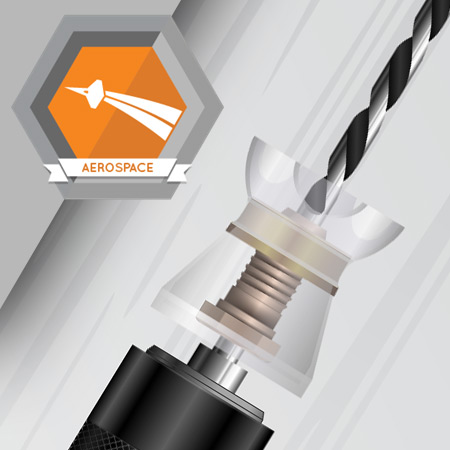
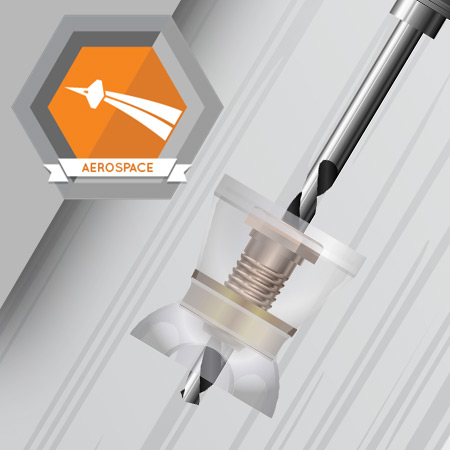
Pilot holes are typically the first holes drilled in any assembly. They are usually too small to accommodate the shank of any standard fastener, so they must be enlarged before fasteners can be ...
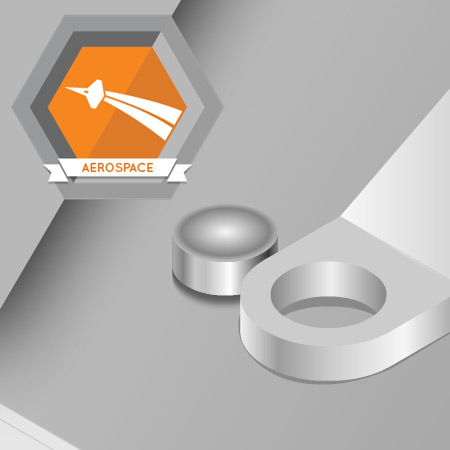
Burrs are raised material left around the edge of a drilled hole. This excess material must be removed, or it may interfere with fastener installation. The process of removing this material is ...
This course is a simulated student project that teaches how to install and inspect protruding head rivets in an aircraft assembly or structure.
Learning Objectives
Install a cup die ...
Before fasteners can be installed in this assembly, it must be constructed and holes prepared.
Learning Objectives
Recognize fastener location and identification information on an ...
A Winslow drill motor is used to create the additional holes needed to fasten nut plates to the assembly.
Learning Objectives
Choose appropriate material for a scrap assembly
...
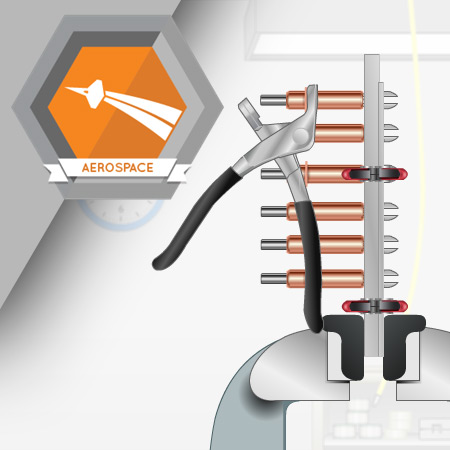
Installing rivets with a compression riveter is faster and more consistent than installing rivets with a pneumatic rivet gun.
Learning Objectives
Use a compression riveter to install ...
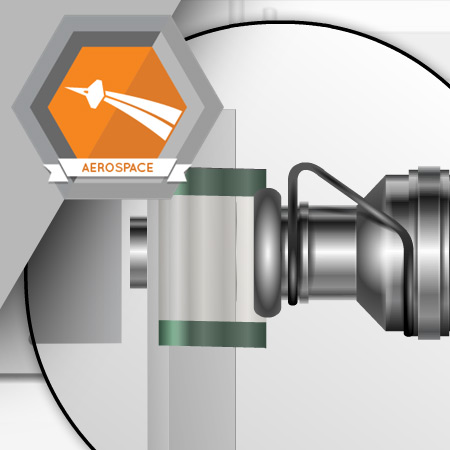
Lockwire is used to secure bolts and prevent them from loosening. Lockwire can be installed by hand with regular pliers or with lockwire pliers.
Learning Objectives
Install lockwire ...
Before holes are drilled in an assembly, their locations must be identified and marked.
Learning Objectives
Recognize fastener identification information on an engineering drawing
...
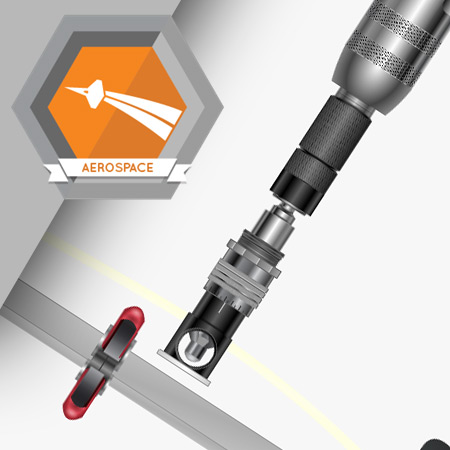
The first step when installing a flush head rivet is to select and install the proper drill bit in the drill motor.
Learning Objectives
Properly secure the assembly in the vise
...
Prior to installing fasteners in any assembly, pilot holes must be drilled. Because pilot holes are not large enough to accommodate fasteners, the pilot holes must be enlarged to size. Any burrs ...
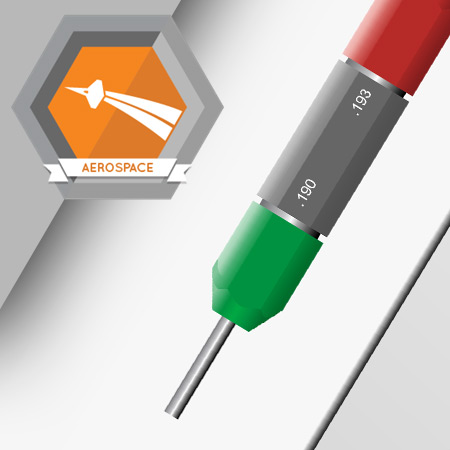
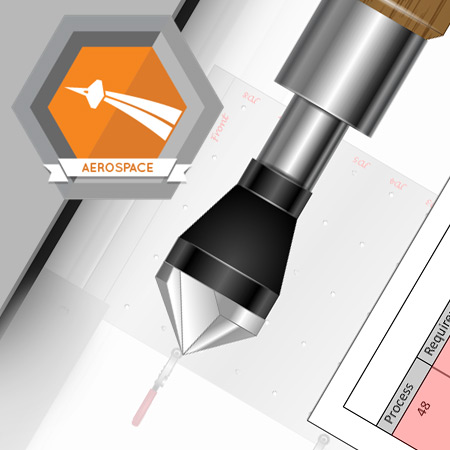
Check and adjust the countersink depth by creating several practice countersinks in scrap material of the same composition and thickness as the assembly.
Learning Objectives
Choose an ...
Once you have verified the depth of the countersink cutter in the scrap assembly, you can countersink holes in the final assembly.
Learning Objectives
Countersink holes of various ...
After the holes in the assembly are drilled and countersunk, the flush rivets are installed in the assembly.
Learning Objectives
Install flush head rivets
Visually inspect the ...
Before the fasteners can be installed in this assembly, the assembly must be constructed and the holes prepared.
Learning Objectives
Recognize fastener location and identification ...
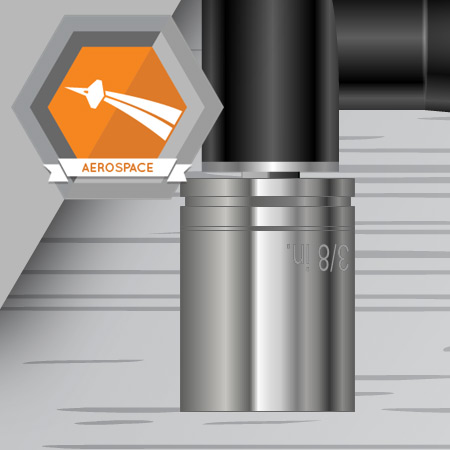
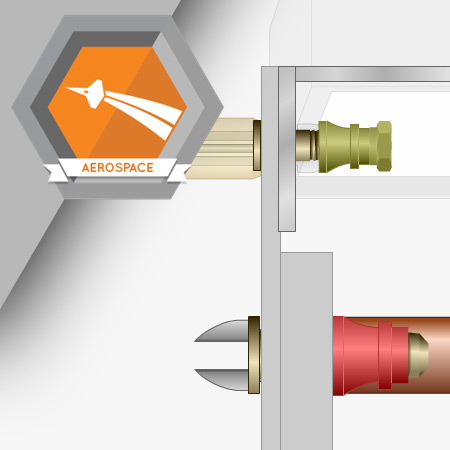
Hi-Loks are installed using a combination of tools. There are several different tools you can use to install the collar of a Hi-Lok, including manual torque tools and pneumatic torque tools....
Two different size Hi-Loks are required for this assembly: 5/16 inch and 3/16 inch.
Learning Objectives
Install a Hi-Lok
Use a hand tool to install a Hi-Lok collar
Inspect the...
This assembly requires three vertical rows of protruding head rivets.
Learning Objectives
Use a rivet gun and bucking bar to install protruding head rivets
Inspect the ...
The tools and techniques used to remove rivets differ from those used to install rivets.
Learning Objectives
Mark the manufactured head of an installed rivet with a drill bit
Use a...
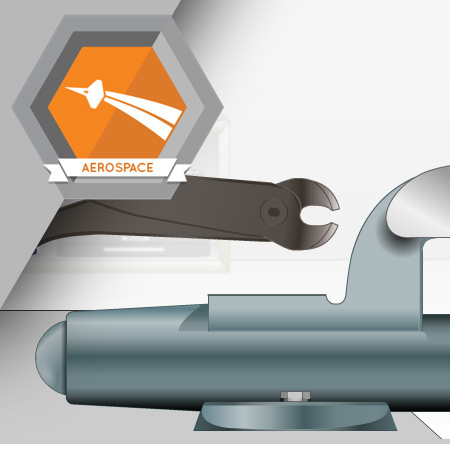
A specially designed pair of pliers called Hi-Lok collar pliers can be used to remove Hi-Lok collars.
These pliers
deform the shape of the collar, loosening it from the Hi-Lok shank....
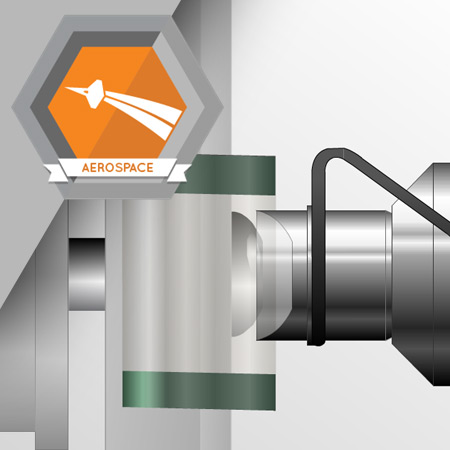
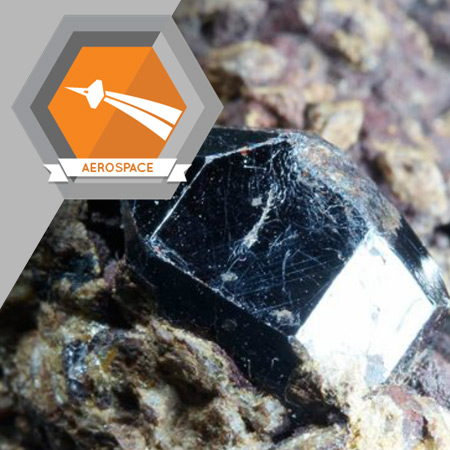
To drill a quality hole in titanium material, you need to understand titanium materials and have good basic drilling knowledge and skills.
Learning Objectives
List some qualities of ...
Before holes are drilled in an assembly, their locations must be marked.
Learning Objectives
Recognize hole location information on an engineering drawing
Explain where to find the ...
In this course, you will be shown how to create the assembly and drill pilot holes.
Learning Objectives
Create an assembly
Properly secure the assembly in the vise
Install a ...
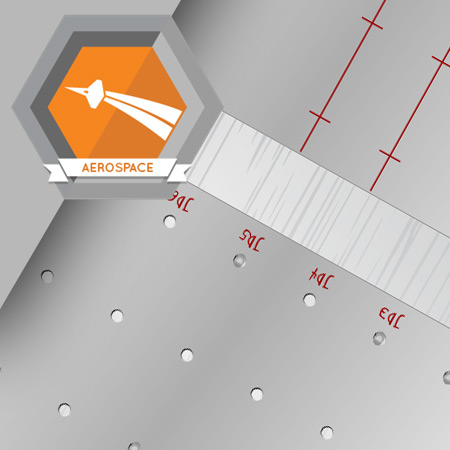
After the pilot holes are drilled in rows JD1, and JD3 through JD8, drill the pilot holes in row JD2 and then enlarge them.
Learning Objectives
Use a ninety-degree drill motor to drill ...
After enlarging the holes in rows JD4, JD5, JD6, and JD7, enlarge row JD1 and JD3.
Learning Objectives
Use two reamers to enlarge the holes in rows JD1 and JD3 to size
Two rows in the final assembly require chamfers: rows JD4 and JD6.
Learning Objectives
Choose appropriate scrap material
Mark hole locations and drill and chamfer holes in scrap ...
Although no fasteners will be installed in this assembly, it is still important that you learn the final hole finishing procedures required for titanium assemblies.
Learning Objectives
...
Understanding the types of materials you’ll be working with when assembling the wing of an airplane is important. Wing structures are assembled using thicker materials and a variety of fasteners ...
Before installing fasteners, the locations of the holes in the assembly must be marked and pilot holes drilled in many of these locations.
Learning Objectives
Recognize hole location ...
Fillet relief and countersinking are required for some of the holes in this assembly. Other holes, require a combination of counterboring and countersinking to accommodate fluid-tight fasteners....
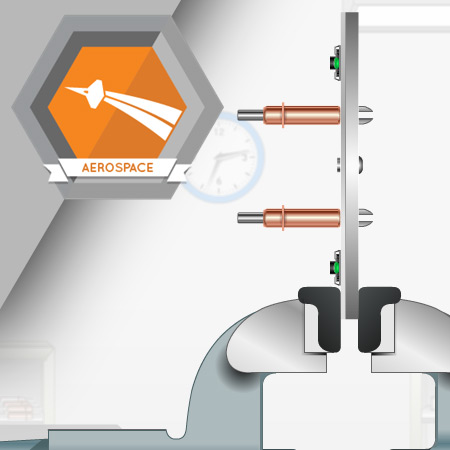
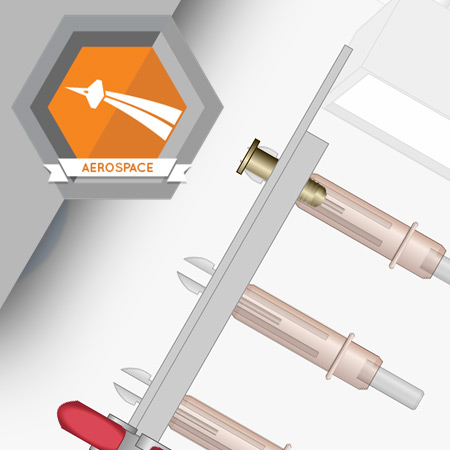
There are many types of fasteners installed on the wing structure including Hi-Loks, lockbolts, protruding head rivets and fluid-tight rivets.
Learning Objectives
Install Hi-Loks
...
Preparation of the assembly includes gathering supplies, tools and setting up the project on the assembly jig.
Learning Objectives
Know where to find the supplies and tools you’ll need to ...
Before you can install fasteners, you’ll need to mark the locations of pilot holes, drill the pilot holes, and then enlarge them to full size.
Learning Objectives
Set up your drill motor to...
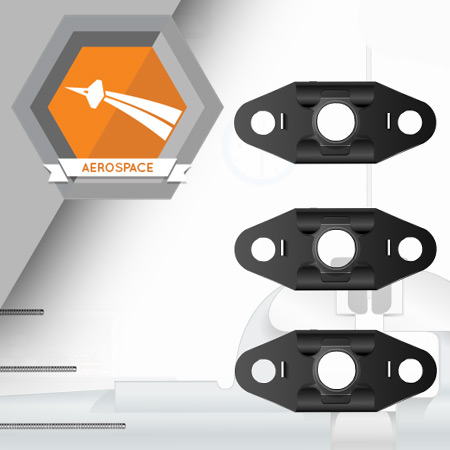
Doublers are used to increase the strength of the fuselage assembly.
Learning Objectives
Drill pilot holes in the doubler
Locate the doubler on the skin panel
Enlarge the holes in...
Countersinking is required before installing flush head rivets into the fuselage assembly.
Learning Objectives
Countersink holes in the fuselage skin assembly